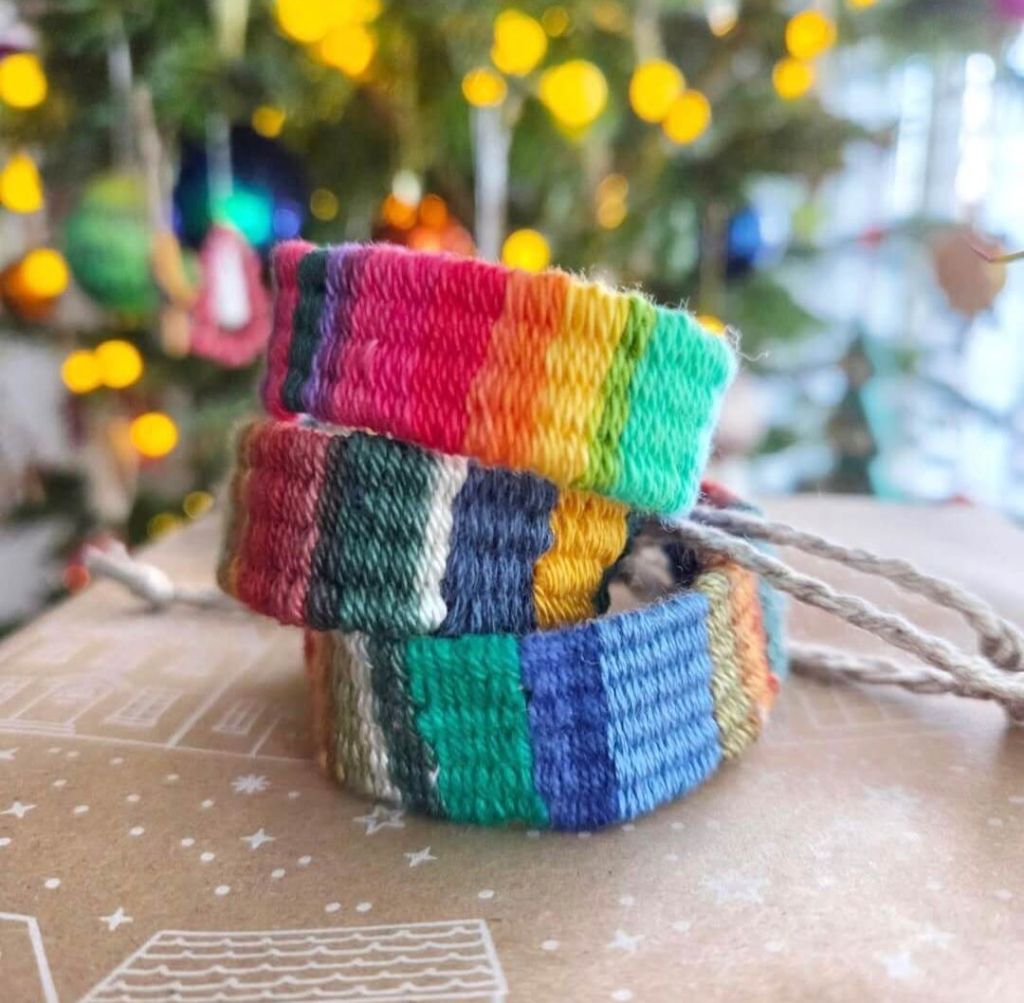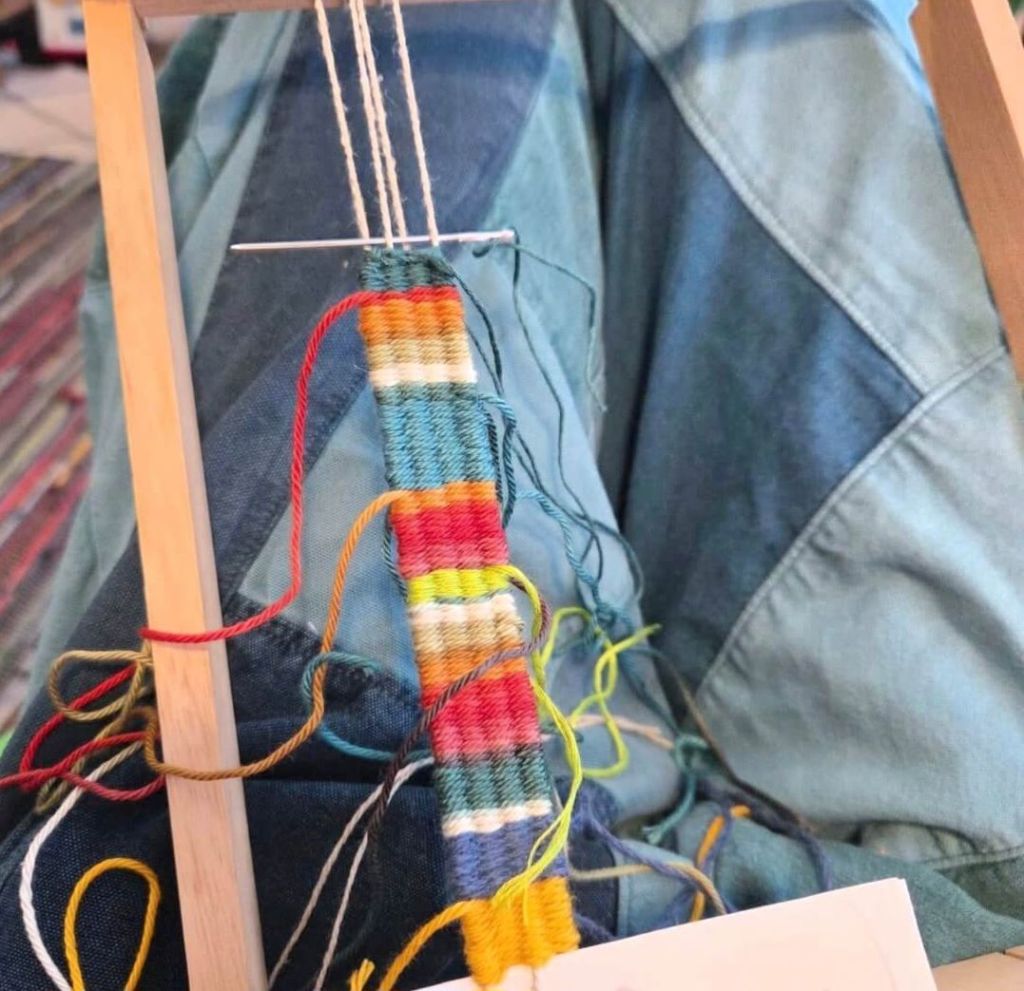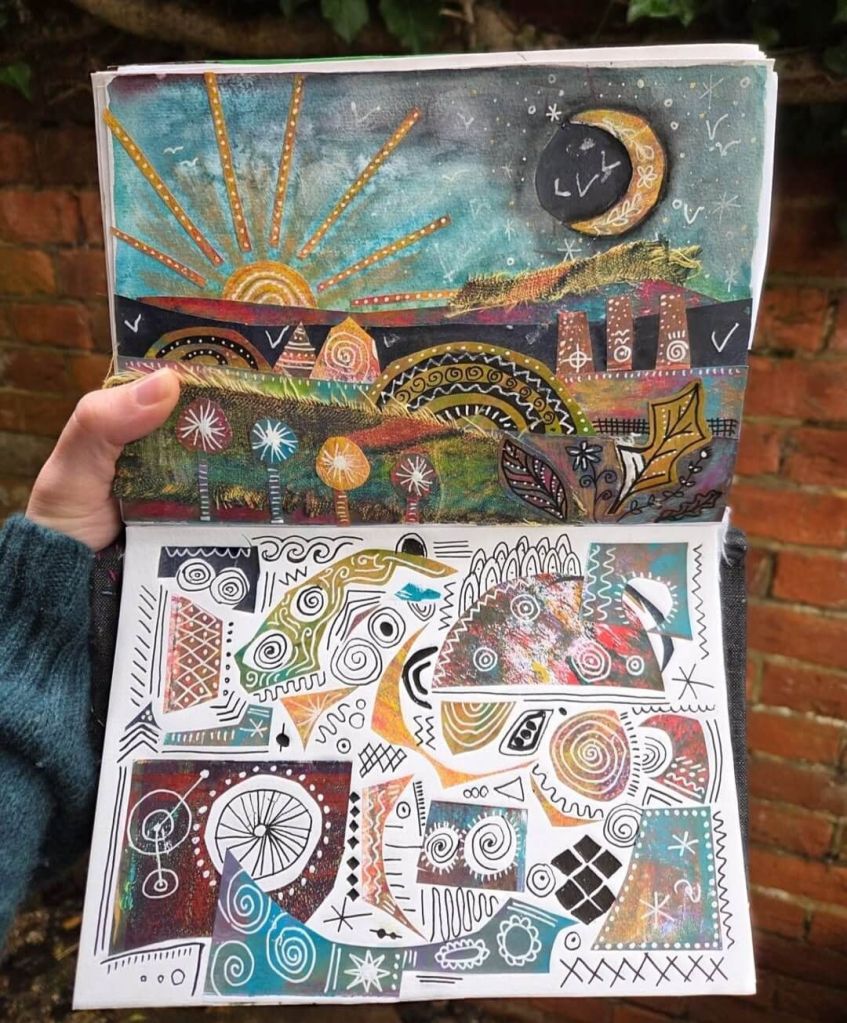
I grew my own fabric! I can’t quite believe I’ve made a belt out off something I grew in my own garden. Eight months of sowing, growing, harvesting, retting, processing, spinning, and weaving and this is the result. I really wanted to turn my first linen yardage into a useful item, so I decided upon weaving a belt on an inkle loom. I got started right away once I’d finished spinning. My yarn was on the chunky side so a thick belt suited it perfectly.
I am hooked on flax now – I have loved the whole process and hope to repeat it next year. Thanks to Lets Grow Flax who have been my guide throughout!
(I will write something longer about my experience one day! For now let me just say that I’ve found there’s deep satisfaction and connection that comes from learning traditional skills, being resourceful, working with nature and producing things with your own hands. Sometimes I think it doesn’t do us humans any good to have everything so quick and easy all the time)
A new winter hat for my littlest one. She gets a lot of hand-me-downs, being the youngest, so I like to create new things just for her every now and then.
This was a simple crochet design using my own chunky handspun wool. I created a rainbow yarn using just three colours of fibre, blending the colours together in various quantities to achieve the range of colours in a colour wheel. (You can blend wool colours just like paint!)
Then spun on my spinning wheel and plied with white before crocheting. I think it turned out super cute 😍
To process my flax at home, I used the mini kit I purchased from Brigitte at Let’s Grow Flax consisting of a metal comb and square wooden dowel.
The first step is breaking. I took small bundles of flax and bent them around the dowel at regular intervals to break the stem. This I repeated up and down the stalk until the flax became more flexible and I was able to wrap the bundle around my hand to secure it.
The next step is scutching. I held the flax bundle against my leg and scraped the dowel along the stems. This causes the woody parts to start falling away and I repeat the process, shaking out the woody pieces until there are none left. I had to use my fingers to pick out the more stubborn pieces.
Then I started combing the flax, using the metal comb. Feels just like brushing my daughters tangled hair! Once the flax passes through the metal comb easily, I then pass it through a hand carder. This separates and aligns the fibres.
The resultant long lengths of fibre is called line fibre and is considered the best quality. The shorter pieces which are left in the combs can be removed and combed again. The longer lengths are called rehackled line fibre, and the shorter pieces are called tow fibre.
On 28th September I attended a flax processing workshop at the Rural Life Museum in Farnham, run by the Let’s Grow Flax community. I’ve been to the Rural Life Museum a few times before with my family, it used to be just down the road from us when we lived in Ash Vale. We actually loved it – it’s full of cool old stuff and loads of space for the kids to run around in. Now we are in Andover it is a bit further to travel too, but still only about an hour.
The weather was damp and drizzly – as a result there were not many people at the museum that day. Our group for the workshop was situated outside but under cover in the laundry house.
I was keen to attend a flax processing workshop in person. I had been watching the online webinars that the Let’s grow flax group provided. But I think before I tried processing my own flax, I wanted to actually try and process some flax with my own hands, to get a feel for it.
Brigitte, who runs the group, started the workshop by asking us to briefly introduce ourselves. There were 6 other attendees on the workshop, all from relatively local places. Brigitte then briefly explained the harvesting and retting process, showing us the difference between fully retted and under retted flax. Then she moved on to the tools and methods to process the flax.
The first stage is called breaking, and the flax stalks are literally broken up. This can be done with a breaker, which is like a hinged wooden device which crimps the flax. The breaker makes a very satisfying cracking sound when brought down on a bundle of dried, retted flax. The hard woody inner part of the flax begins to fall away and the bundle begins to soften, until you can wrap the bundle around your wrist to keep it together.
The next step is scutching. This is where you hold the flax against a wooden board (or your own body) and scrap the flax with a wooden dowel or knife. This helps to further remove the woody part until all that is left is the soft fibres.
Once all the woody parts have gone,the third part of the process is hackling. This involves passing the flax fibres through a series of combs, to untangle and align the fibres.
Finally the finished bundle is twisted and stored to be spun at a later date.
Brigitte had brought along some flax for us to practise on. The first few bundles I processed I got into a bit of a mess with – its very easy for the flax to tangle and knot if you are not careful. But after I while I started to get into the flow of things, and the hackling park felt much more familiar as it was not that dissimilar to combing wool.
I had brought along my own homegrown flax, but alas it was not retted enough to process, so I took it home again to rett for a while longer in the garden.
I spent around four hours at the workshop, but it went so much quicker as we were all so deep in concentration.
I came away feeling much more confident for the next step of processing my own flax. I purchased a small kit from Brigitte as well, comprising of a metal comb and wooden dowel which should be adequate for processing smaller amounts of flax.